medicine for our fevered culture delivered to the HEARTS OF THOSE who CREATE it.

THE PODCAST
We have heard a lot about safe spaces. What about brave spaces? These are contexts in which you are allowed to explore what you feel before you know what you think without the weight of who you are. These are contexts that are vital to our becoming. These are contexts our culture lacks.
In the Which Way Is North Podcast, we create spaces for conversations designed to take us deeper into our humanity. Listen and subscribe on your preferred platform!
AS FEATURED IN

Are you holding your breatH right now? How breathwork can help relieve stress
“I have a confession to make: I hold my breath. I don’t know I’m doing it until I take the next breath and realize I haven’t breathed in a couple of minutes. Since I don’t do it intentionally, it’s been a hard habit to break. Then I talked to Will Cady…” — Read More

Inside Prince Harry and Meghan Mental Health Festival—Yoga and Meditation
“Prince Harry and Meghan Markle are holding their first in-person Archewell Foundation event alongside Reddit's former in-house tarot reader…with a guided meditation session titled: "From Anxiety to Creativity" led by Will Cady.” — Read More
Industry Leaders Talk Technology and Business Innovation
“Cady added, ‘when you have something great in your back pocket, you don’t have to follow anybody. You can actually plan when it’s time to make everybody follow you. I think that’s what we all really want.’” — Read More
I work with curiosity
This puts me in the business of big questions
AND in the service of stories.
THE BIGGEST (AND MOST COMMON) QUESTION PEOPLE ASK ME IS:
“WHAT IS MY PURPOSE?”
THAT IS WHERE OUR JOURNEY TOGETHER BEGINS.
LET’s TALK.
TAROT READINGS
〰️
PODCAST CONVERSATIONS
〰️
SPEAKING APPEARANCES
〰️
BRAND STRATEGY
〰️
CREATIVITY WORKSHOPS
〰️
MEDITATION SESSIONS
〰️
WRITING SUPPORT
〰️
TAROT READINGS 〰️ PODCAST CONVERSATIONS 〰️ SPEAKING APPEARANCES 〰️ BRAND STRATEGY 〰️ CREATIVITY WORKSHOPS 〰️ MEDITATION SESSIONS 〰️ WRITING SUPPORT 〰️
IN CONVERSATION

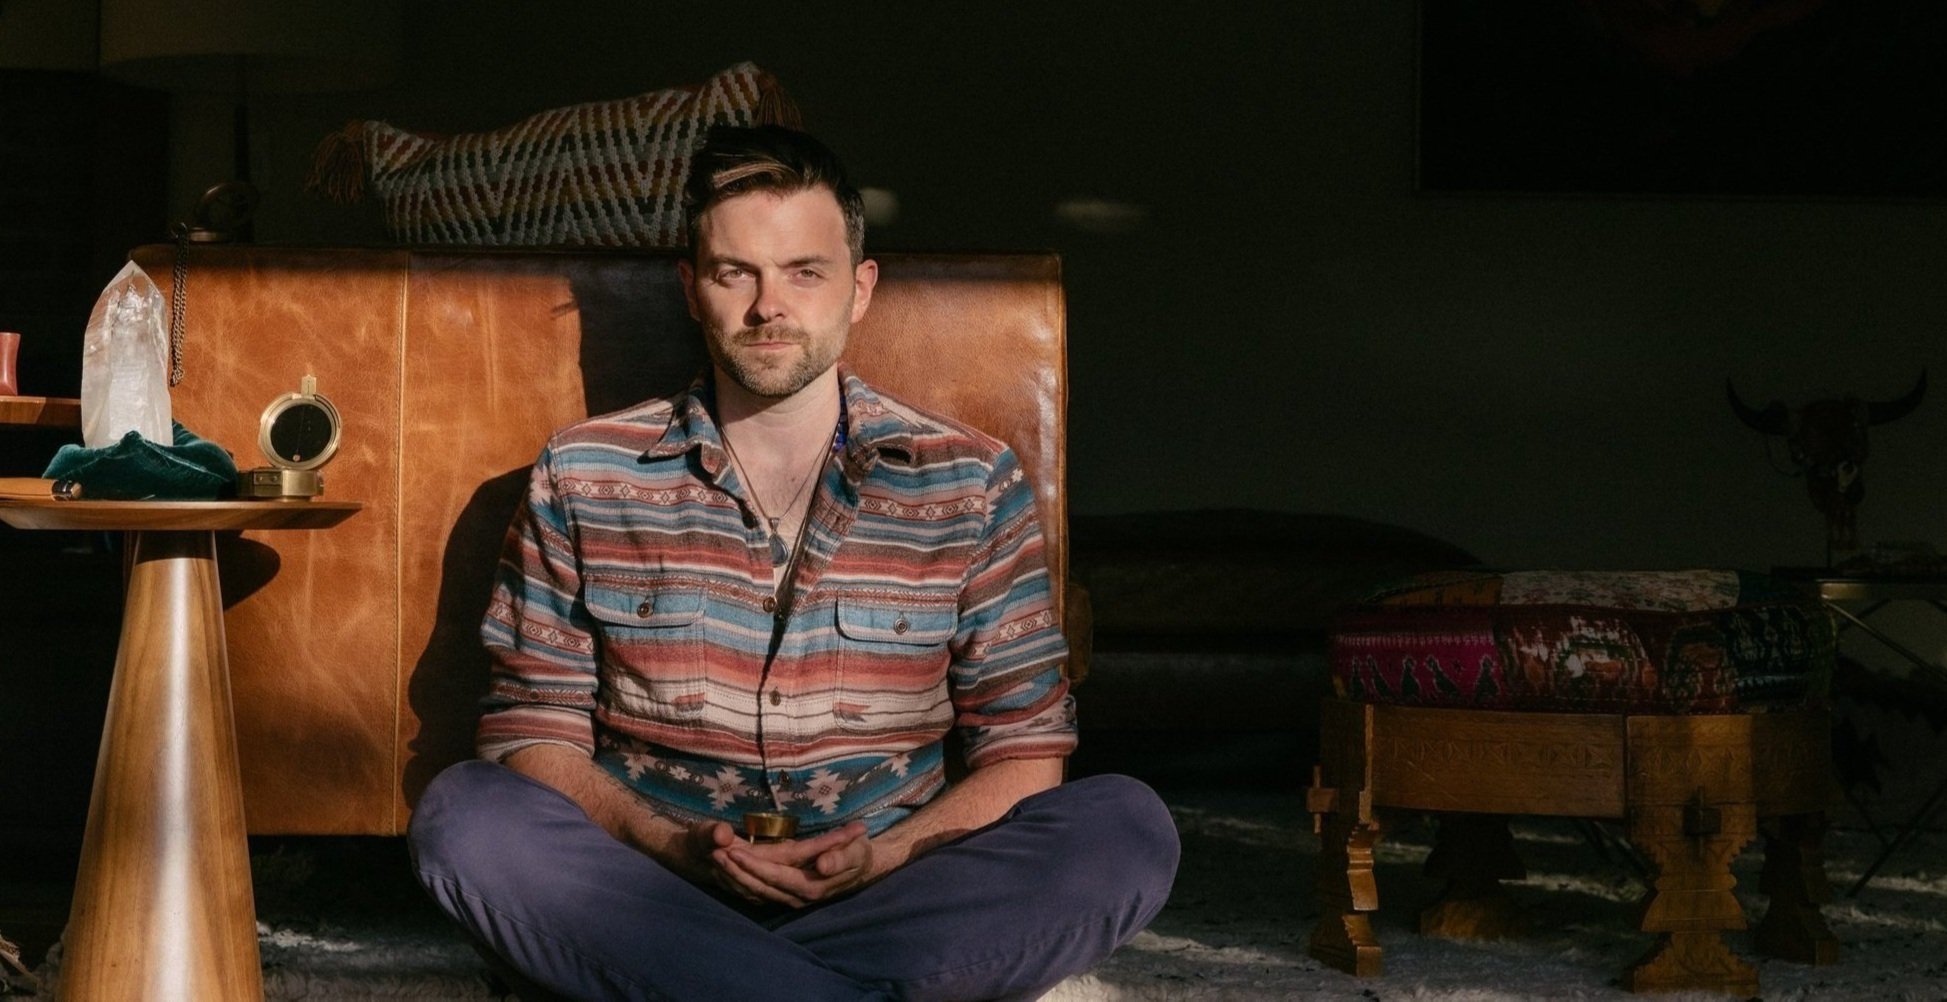
WHO ARE YOU?
WHAT DO YOU DO?
My purpose is to repair broken systems through strategies & storytelling informed by a view unconstrained by the PRESENT paradigm.
Like all of us, I am many things. I have walked a path from zen monasteries through touring rock bands into my current role as the Global Brand Ambassador and former Global Director of KarmaLab at Reddit where I also serve as the company’s weekly meditation guide and tarot reader.
On my path, I’ve studied deeply with virtuoso musicians, mystical healers, and boundary-breaking entrepreneurs to develop a uniquely potent practice for cultivating creative energy. This practice is at the core of how I build, lead, and advise teams of creators today.
*******
Prior to taking on the leadership of KarmaLab, I launched, hired, and managed Reddit’s Los Angeles brand partnerships office; tapping years of experience architecting revenue-driving programs that connect brands with fast-growing pockets of music, art, and experience just as they reach their tipping points. My partnership work covers a majority of Fortune 100 brands.
I am a graduate of Berklee College of Music, recipient of an Emmy Award (New England Regional) for Best Musical Composition/Arrangement, and have been featured as a member of the 2020 AdWeek Top 50 for Tech, Media, and Marketing as well as the Top 100 Oncon Icon Marketers for 2021. Happily, my original music has amassed ~3M+ streams on Spotify and counting.